Python is great (except when it isn’t)
In this article, I want to go over how to avoid all the usual Python problems encountered when SREs/engineers first start using it, and provide guidance on best practices.
As a long-time sysadmin, SRE, and cloud architect, the main tool of getting things done is
bash scripting. However, bash really is the wrong tool when you need to aggregate stuff from
many sources in various formats. Programs like jq make working with these things much better, but
ultimately bash is the wrong tool for the job.
Python is usually touted as the solution, and to its credit, it can absolutely do anything bash can do
(cue the nerds proving me wrong). The issue is that bash is a stable shell in use for decades
with well-known tools, and
Python is an ecosystem:
- There are many viable versions in use, each with breaking changes from other versions
- Generally dependant on other libraries
- The default install is rarely the correct install for programming
- The defaults for library installation cause global changes to the OS’s install
Figure out the correct version
There are several versions of Python found on most Linux distros today:
- calling
pythonon RedHat, CentOS, Ubuntu, etc, will mostly bring up Python 2.7, which is kept only for compatibility with older utilities. You should not be using this at all. It’s old, and dangerously close to being phased out. - calling
python3will get you a version of Python that’s usually above 3.4, which is also ancient, but useable for most tasks. - Python 3.6 or later is your best bet for compatibility with major new features.
How do you choose?
- Where is this going? The default version on the target system is your best bet. It prevents having additional install steps
- They have nothing installed by default? Use the latest version that is still compatible with any templates or code you’re “borrowing”
- Are you using a serverless system? Use the latest version they support, or the version already installed on your workstation
Once you have the version selected, figure out if you need to and how to install it on your local dev workstation:
-
Ubuntu: Add the deadsnakes PPA and download from there:
sudo apt-get install software-properties-common sudo add-apt-repository ppa:deadsnakes/ppa sudo apt-get update sudo apt-get install python3.11 python3.11-venv python3.11 -m ensurepip --default-pip --user -
CentOS 8/RedHat: you can install the default version (3.6.x) with
yum install python3. Other versions require building from source -
Windows: Download the installer and install.
-
Mac: You can either get the official installer from the Python Foundation, or install from
brewwithbrew install python@3.8(pick your version)
Take note of where it got installed, if your OS decided to not put it in the PATH. We’ll need
that in a sec
Use a virtual environment
Python ships with a module for using virtual environments. A virtual environment, or venv for short, is a mostly private installation of Python where you can install and reconfigure things without affecting other Python versions on the OS. This is achieved by making:
- A virtual environment folder with links to the executables, links to standard libraries, setup scripts, and any custom modulates you install
- Scripts that setup your environment so that calling
pythonorpipgets you the version of python that created the venv
You can make the venv with:
/path/to/correct/python3 -m venv venv
this will create a ./venv folder to contain the environment. To use the environment, you use:
./venv/bin/activate
And you will get a sub-shell setup for the venv. From here you can proceed to install modules, run python
or pip safely (that is, without affecting the system-level install), and change any config.
Configure git
If you’re using git, make sure you import the Python .gitignore file in to prevent issues when you commit your code. This is available at the Python git ignore template.
Simply copy and paste that file into ./.gitignore in the root of your project.
Use an IDE
I’ll recommend VSCode, but there are plenty of other code editors out there. For VS Code, add the following extensions to make your life easier:
- Python |Link|: This is the main formatting and help for using Python.
- Pylance |Link|: Provides type checking and general understanding of the code to help you write quicker and with fewer mistakes
- Code Spell Checker |Link|: It’s a code-convention-aware spell checker. If you can’t spell, this is a great addition for catching your mistakes
VSCode will figure out your venv, and allow you to debug the python code by going to the Run and Debug window and pressing the start button
Which brings us to…
Use the Debugger
Breakpoints are great, and so is inspecting variables. Debugging is outside the scope of this article, but Microsoft has an excellent tutorial on how to debug Python easily in VSCode.
Package Everything Up
Once you’re done writing your code, create a requirements.txt file in the root of your project. To do this,
run the following:
pip freeze > requirements.txt
When you install this on a new environment, setup the venv and install all required packages:
/opt/python/python3.10/bin/python3.10 -m venv venv
. ./venv/bin/activate.sh
pip install -r requirements.txt
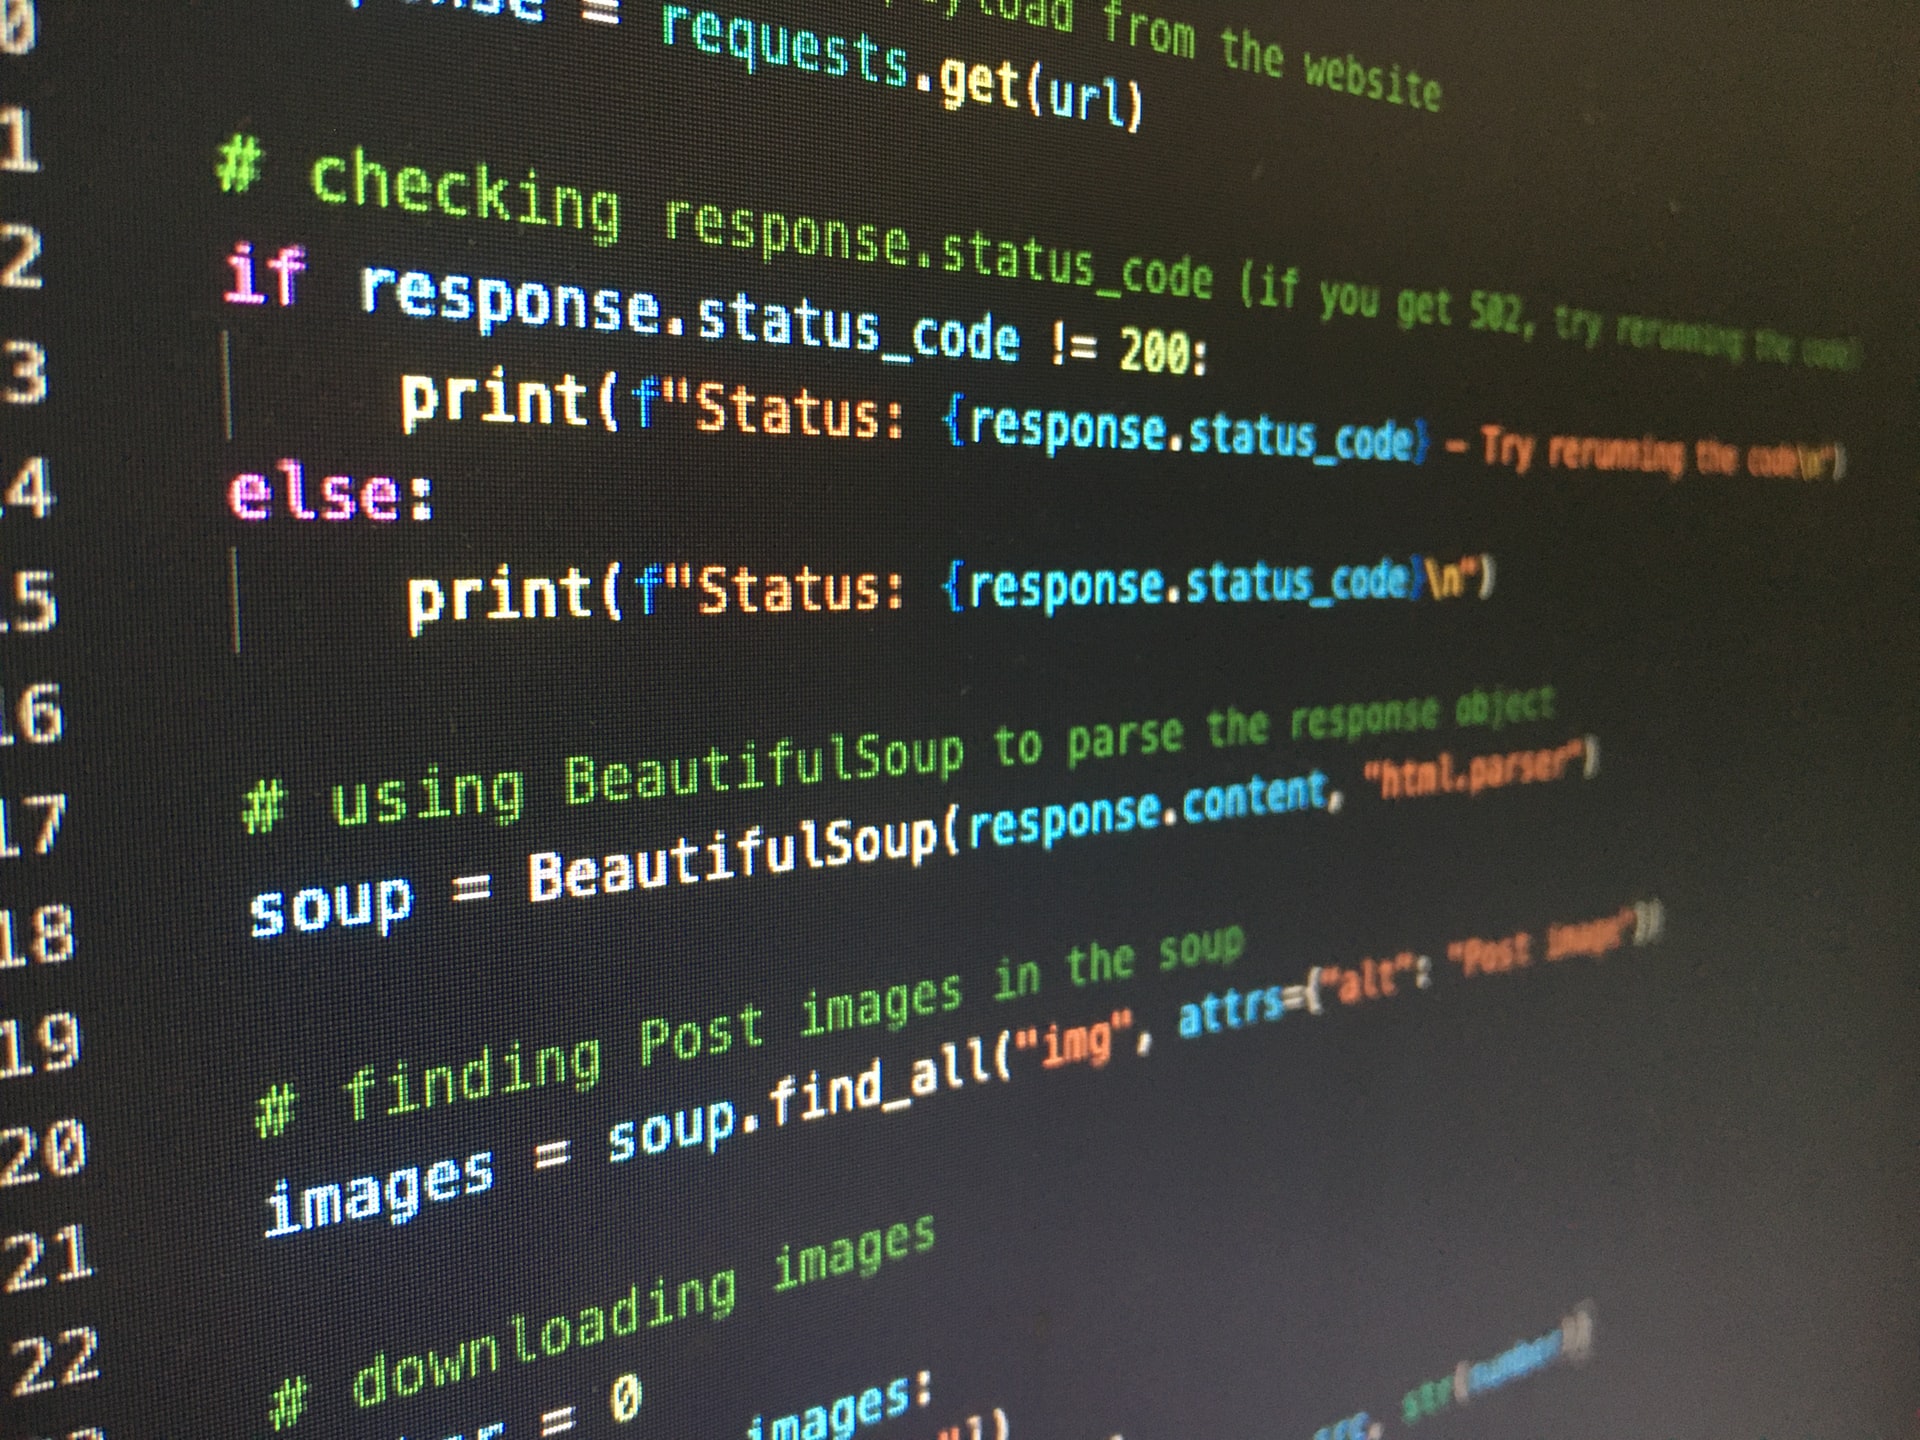
Photo by Artturi Jalli on Unsplash
